
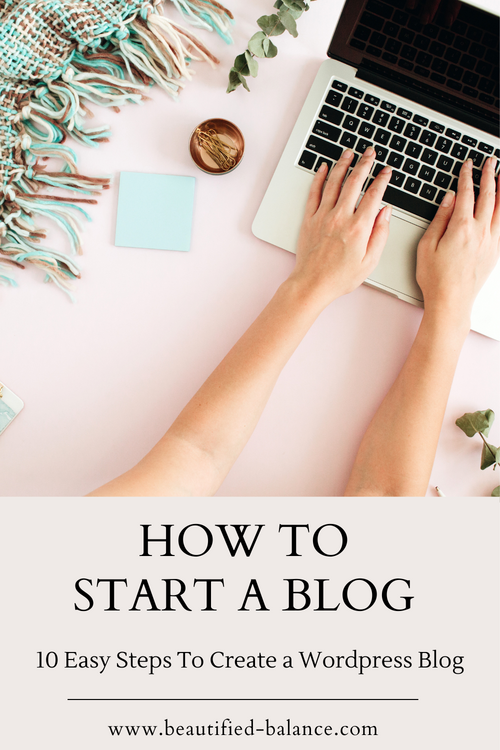
How To Start A Blog in 10 Easy Steps
Creating a blog with Bluehost is a pretty straightforward process. Bluehost is a popular web hosting provider that offers easy WordPress integration. I started my blog one afternoon while I was on maternity leave when my son was napping – so when I tell you it takes less than 10 minutes to create your blog, I mean it. Once you create your blog, that’s when the hard part begins. But here’s a step-by-step guide to help you set up a blog with Bluehost using WordPress if you have no idea where to start.
Step 1: Sign Up for Bluehost
- Go to the Bluehost website (www.bluehost.com).
- Click on the “Get Started” button.
Step 2: Choose a Hosting Plan
- Select a hosting plan based on your needs (Basic, Plus, or Choice Plus). The Basic plan is often sufficient for new bloggers.
- Click on the “Select” button.
Step 3: Register a Domain Name
- If you already have a domain, enter it in the “I Have a Domain Name” section. If not, enter the desired domain name in the “Create a New Domain” section.
- Click on the “Next” button.
Step 4: Create Your Bluehost Account
- Fill out the required information to create your Bluehost account.
- Choose your hosting package options (account plan, package extras, and payment information).
- Scroll down to the “Package Information” section and select the account plan duration.
Step 5: Complete the Payment Process
- Enter your payment details.
- Review the terms and conditions, privacy policy, and any other relevant information.
- Check the box indicating that you agree to the terms.
- Click on the “Submit” button.
Step 6: Create a Password
- Create a secure password for your Bluehost account.
- Click on the “Create Account” button.
Step 7: Install WordPress
- After completing the payment, you’ll be prompted to create your WordPress website.
- Click on the “WordPress” icon.
Step 8: Set Up Your WordPress Site
- Fill out the required information for your WordPress site (site name, admin username, and password).
- Choose a WordPress theme (you can change this later).
- Click on the “Next” button.
Step 9: Log In to Your WordPress Dashboard
- Once the WordPress installation is complete, you’ll receive a confirmation.
- Click on the “Log In to WordPress” button.
Step 10: Start Blogging
- You’ll be redirected to the WordPress dashboard.
- Explore the dashboard to customize your blog, create posts, and manage settings.
This is the simplest way to get started if you are wanting to start a blog but aren’t sure where to start. After completing these 10 steps you have successfully created a blog with Bluehost using WordPress. You can start customizing your blog, adding content, and exploring the various features and plugins available in WordPress.
Related Blog Posts:
Why I Started A Blog